
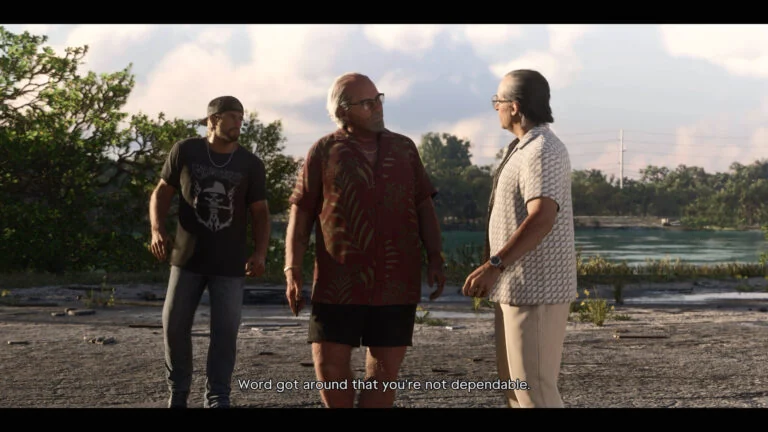
By the time Arnold reaches the waterfront, the chase has become a question about Jason. GTA 6 Hey Arnold! allows the confrontation to end with Arnold alive or dead, and that decision feeds into the criminal profile system. Both approaches can complete the mission. They do not describe the same kind of protagonist.
The route to that choice begins with Brian trying to locate a contact. This guide follows the pursuit to the docks, keeping the final decision available instead of trying to end the encounter during the drive.
Brian’s missing broker and the journey south
After Brian calls, meet him at the pool bar in southern Key Lento. Take his vehicle, wait for him to join you and drive to the liquor store to collect Cal. The search then moves towards the radar station in Maroon Key. PowerPyx identifies Brian’s call after Pipework as the start of this assignment.
Let both passengers get settled before pulling away. These stops establish who is travelling with Jason and keep the objective sequence clear. Once the search area appears, use the destination marker instead of treating the whole island as an open investigation.
Beebom points to the large white blimp as a useful visual landmark near the station. The encounter becomes hostile after the conversation, and Arnold leaves in a vehicle. Be ready to follow when control returns.
Keep the pursuit under control
Watch the vehicle ahead, then the road
Arnold’s men attack from motorcycles during the chase. You can draw a weapon with L1 or LB and fire with R1 or RB. Jason’s slowing ability, activated with both stick buttons, can help you aim. These controls are covered in Beebom’s mission walkthrough.
Use the opportunity selectively. Looking sideways for too long can be more disruptive than the rider you are trying to hit. Keep returning your attention to Arnold’s direction and the space available in front of the truck.
Commit cleanly to the bridge section
The pursuit includes a broken bridge and a stunt jump. VGC’s route continues across that gap before Arnold abandons his vehicle and runs. Follow the intended approach and avoid an unnecessary steering correction just before takeoff.
The practical priority is continuity. A neat pursuit that keeps the target visible is preferable to constant attempts at a spectacular shot. You are trying to reach the next part of the encounter with control of your vehicle intact.
During the driving section, avoid aiming at Arnold simply because he is the nearest target. Continuing the pursuit preserves the waterfront interaction this route is designed to reach. Concentrate instead on staying close enough to follow him through the next turn and towards the final confrontation. Separating the task of following from the temptation to fire makes the later choice deliberate rather than an accidental result of the chase.
Follow Arnold on foot
When the chase switches to running, leave the vehicle and pursue Arnold towards the waterfront. The standard route brings the confrontation to the pier, where he has nowhere further to run. GamesRadar documents both catching him during the foot chase and reaching the final position at its end.
Give yourself a moment to read the interaction when he stops. The mission has changed pace. An input that made sense while returning fire from a moving vehicle may now settle the decision before you have considered it.
Choose the outcome deliberately
| Decision | Immediate consequence |
|---|---|
| Spare Arnold | Jason releases him after a warning, contributing towards restrained behaviour. |
| Kill Arnold | The confrontation ends violently and contributes towards a more violent criminal profile. |
To spare him with the standard controller prompts, hold L2 or LT to interact, then select the spare option with X or A. GamesRadar confirms that the mission’s following cutscene and rewards remain the same whichever choice you make.
For a first playthrough, sparing him is the more useful choice if you want to establish a restrained Jason. That is a roleplaying recommendation, not a claim that the game requires mercy. Decide according to the character you want to play.
Avoid interpreting one profile notification as a promise about every later consequence. The clear, relevant result here is that the game records the nature of Jason’s response. This walkthrough stops at this mission’s outcome.
Leave when the confrontation ends
VGC warns that using a loud firearm at the end can bring police attention, so leave the area after the encounter instead of waiting around. PowerPyx lists no cash reward for the mission. The result is story progress and a meaningful early decision.
Hey Arnold’s final choice gives a familiar chase an effective closing beat. Driving, shooting and running build momentum; then the game makes room for a pause. Take it. The most consequential input in this mission may be the one you choose after the pursuit has already stopped.